Pottery Barn DIY Snowball Curtain
Have you seen the Pottery Barn Snowball Curtain? It’s so magical! I drooled over it last year and then it sold out. Then this year I almost bought it, but decided to try doing my own because theirs was 6 ft wide by 6 ft tall and I wanted mine about 4 ft wide and 8 ft tall. I’ll let you know at the the end what I thought about this DIY! Jkjkjk, it was fun to do and I love it!
So let’s do this!! Gather some supplies- I got poms poms from Amazon of various sizes (these Yarn Pom poms and mini pom poms and some others at Hobby Lobby, any kind will do) some fairy lights (from Costco, the kind with a timer), my trusty glue gun and glue sticks and wire. By the way, as an Amazon Associate, I earn a little bit from qualifying purchases at no extra cost to you.

Let me just start off with a warning, I hot glued the pom poms to each light. A low heat glue gun would probably be very smart here and not to mention faster, but I used a regular glue gun and I’d blow on each drop of glue until I could touch it but it was still tacky before sticking it on the light. It was a V E R Y slow process! But I didn’t want to melt the light strand and I always start my projects after everyone is in bed and it’s late and it’s quiet and my regular glue gun is all I had!
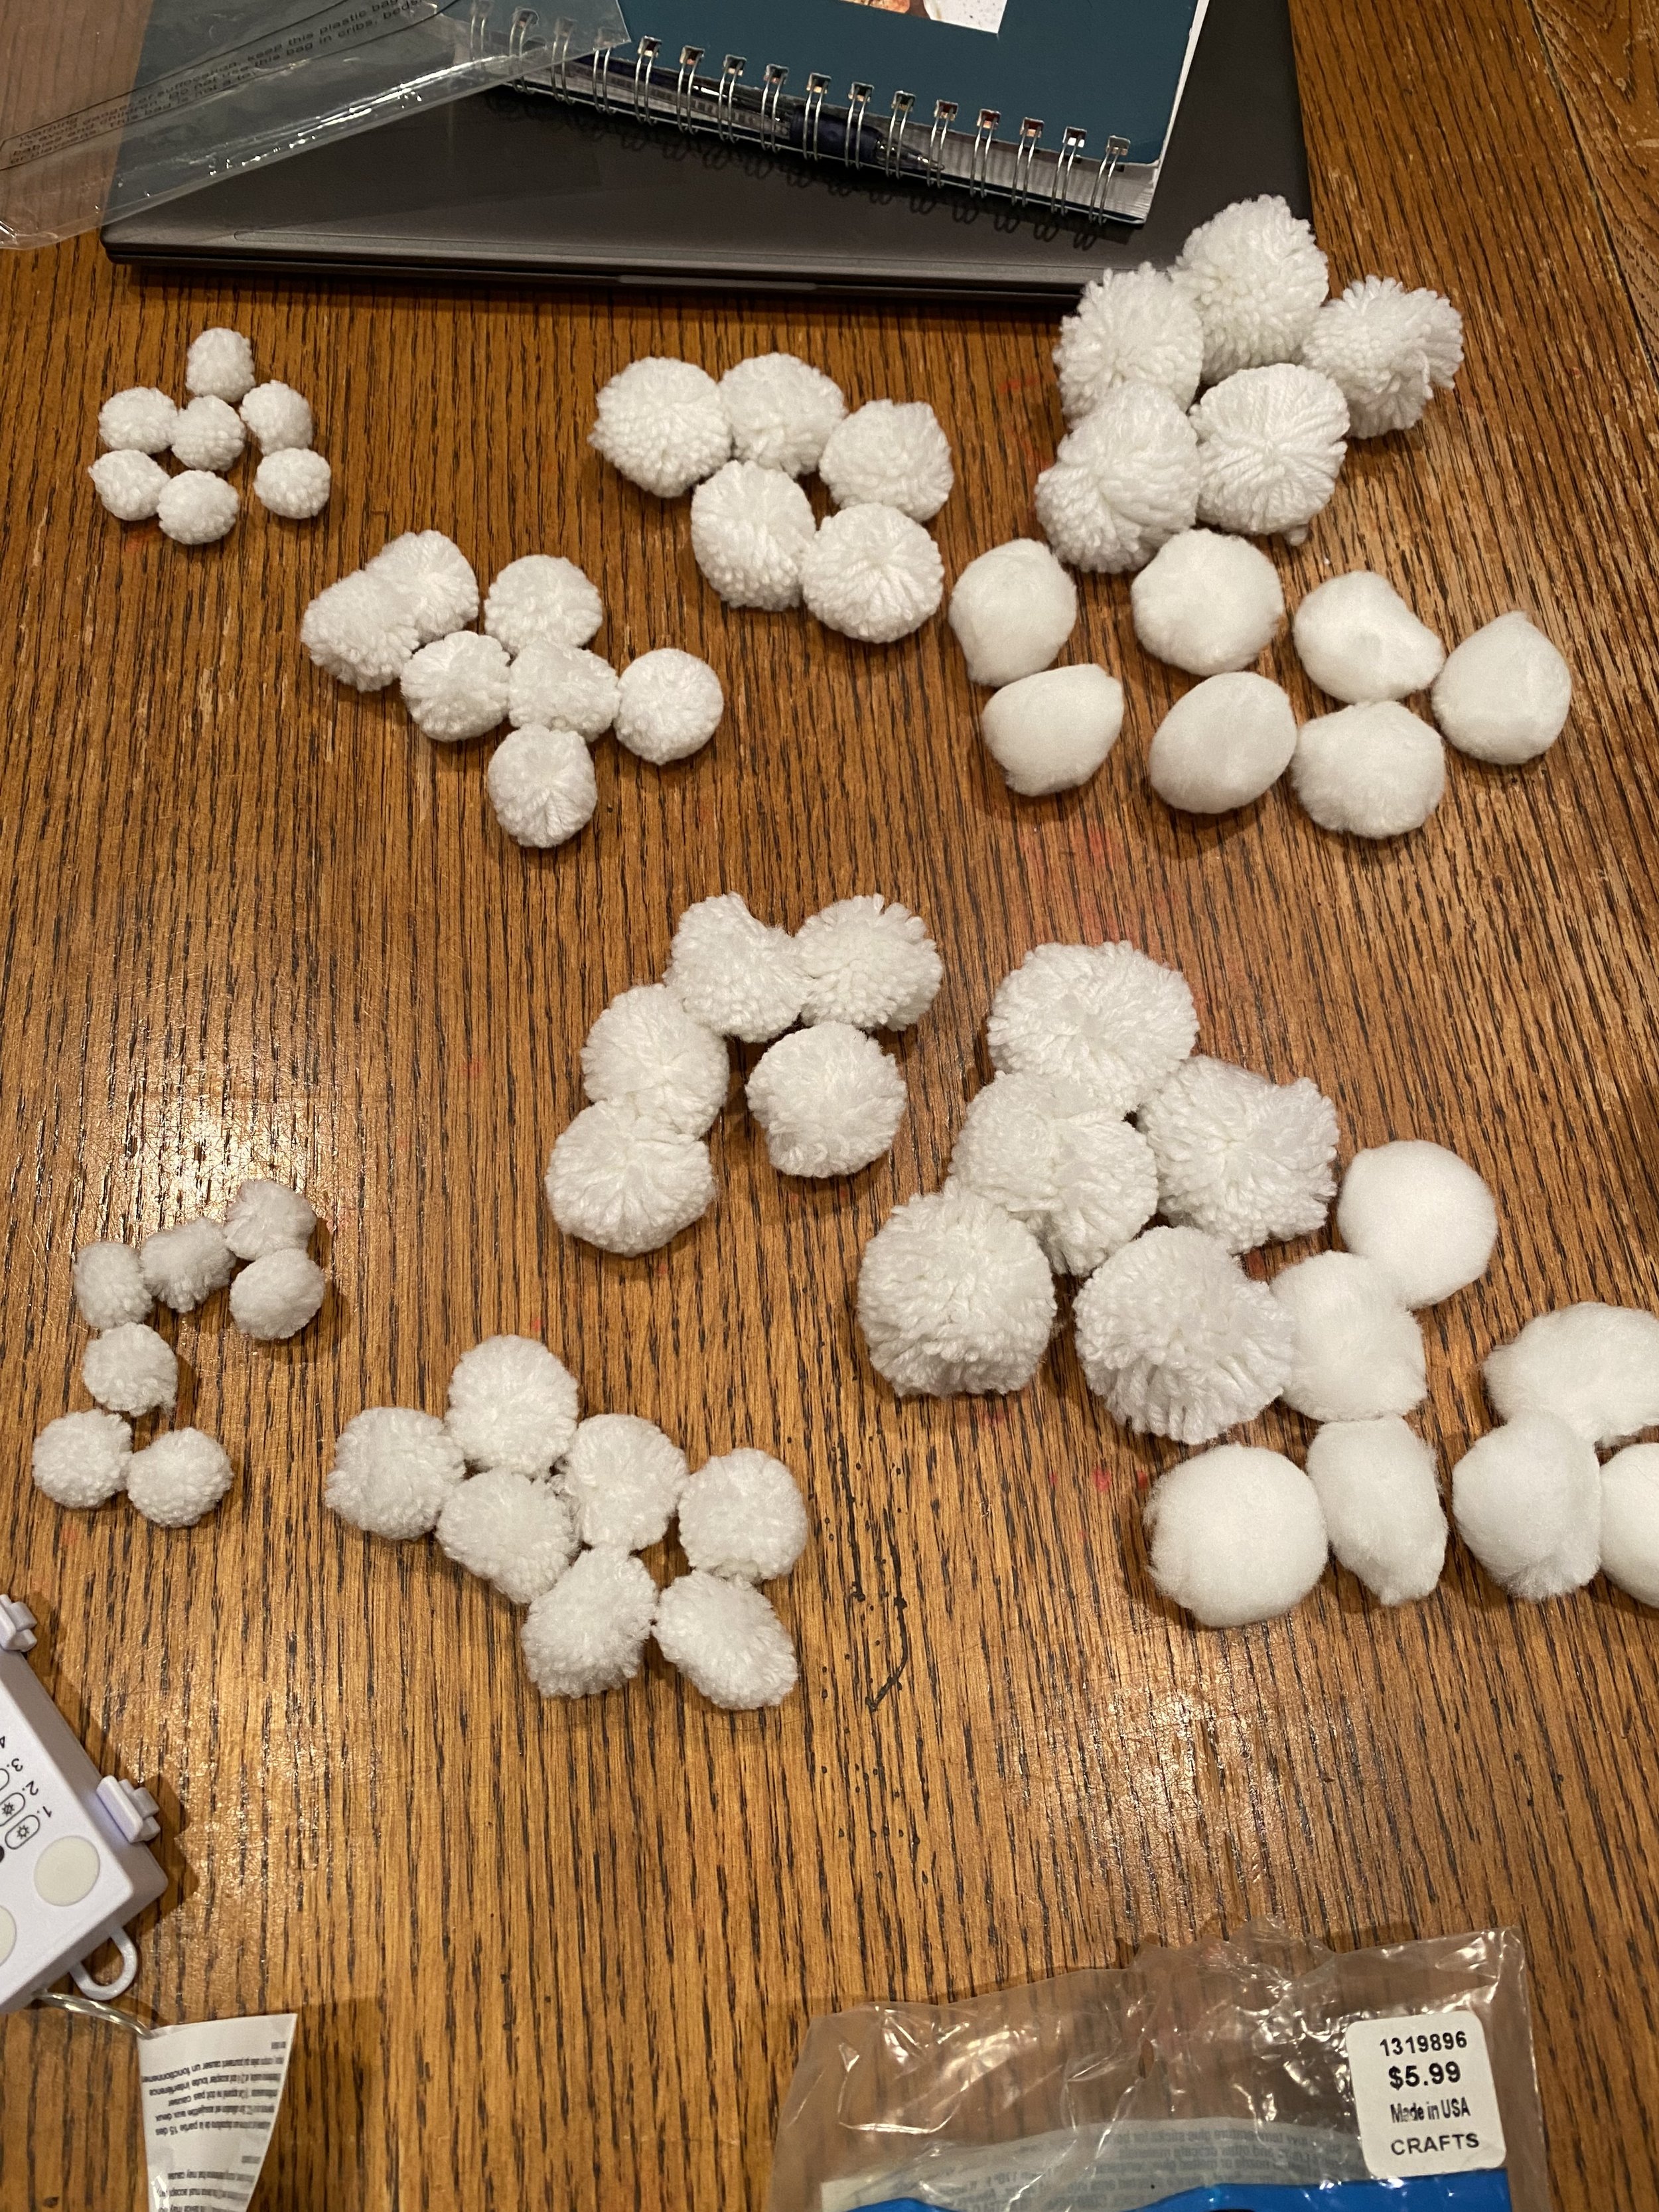
I sorted the pom poms into sizes so I could add them in randomly. I added a drop of glue to each pom pom, blew on it a bit (OK, three times to be exact) and then sort of laid the light in the middle and squished the pom pom around it into the glue.

Close up of large pom pom being glued on

Squishing the pom pom onto the fairy light
It’s looking magical and I love it!

Looking so magical!
This would also be so fun on a Christmas tablescape!

One strand done!
One strand all done of FIFTY lights with pom poms! It took me about 45 minutes. Three more strands to go. Thankfully I was getting faster with each one. (But I didn’t finish until after midnight, I don’t know why I do this to myself!!)
So, the next day, I rigged up my lights with some wire.

Rigging up the lights!
Luckily, my hubs doesn’t mind when I put a nail in somewhere, lol!

Strands were hung at 6 inch intervals
The strand of lights were almost 16 ft. long, so I wired them right in the middle with 6 inches in between.

All hooked up!
Now, to just be patient until night time to see what they looked like!

All aglow!
Ahhhh, I LOVE it!! So magical!
I used three of my four strands here, and then used one strand on the other side of the porch.

Corner strand is up!
I love this DIY Pottery Barn Snowball Curtain Knockoff so much, I might make a whole bunch more and just put them everywhere! lol

All glowing and so purrr-dy!!
This DIY Pottery Barn Snowball Curtain knock off cost me about $30 (I do have leftover pom poms, sweet!) and now the actual Pottery Barn ones are HALF off!! Only $50! I’d probably just buy theirs if the size was what I wanted. But overall, it was fun and I love love love the ambiance it creates on my porch! To see the Winter Twig Wreath on my door, click here!
Stay warm out there and happy crafting!
Patrice